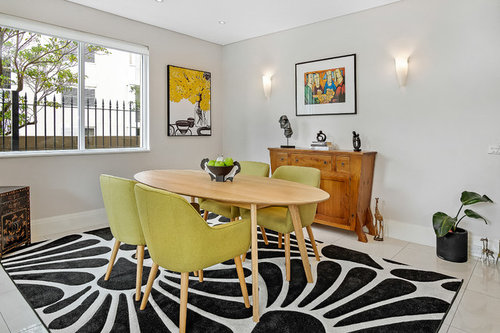
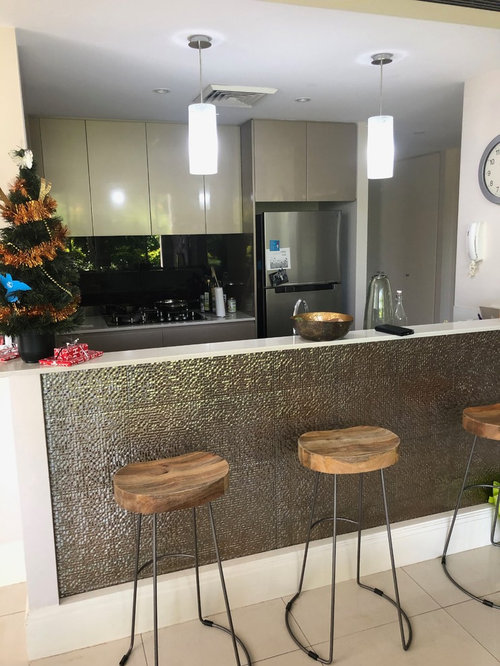
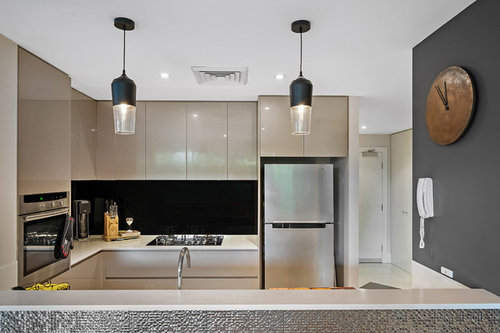
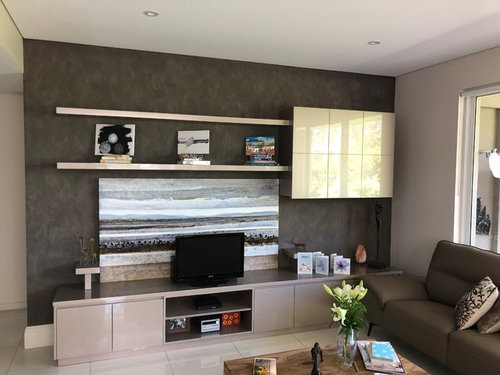
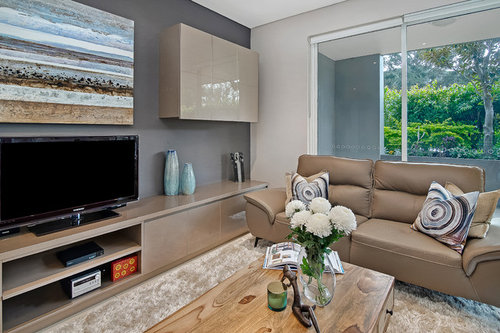
Before & after: Turning a house into a home
Brenner Interiors
4 years ago
last modified: 4 years ago

Featured Answer
Comments (7)
 PRO
PROMB Design & Drafting
4 years agoRelated Discussions
Before/After: Hamilton Arts and Crafts bungalow
Comments (2)Very , very nicely done , and clever too ! It looks like you have used the existing windows and joinery , added those white gloss pillar 'covers' to modernise the whole look , and the lattice centre piece not only adds interest , but would also add light around the front door too . It also looks like you have added a garage on the right hand side , all in the same style to tie it all in . Like Courtenay , I love the entrance , although just personally , I would have done the gate in a slightly darker stain -- it looks a bit light ( to me ) in comparison with the shingles , and the painted brick -- especially as the gate will fade , the bricks not so much . Really , my only 'picky' bit . Well , apart from the copy writer , who has a heading about a Hamilton makeover , then talks about Tauranga architects and Tauranga's Fraser Street haha -- a small error , but why ?...See MoreNeglected bungalow given a new lease of life - before & after
Comments (2)Wow! what a stunning transformation...See MoreThe Ultimate Investment - Before and After
Comments (0)We began this renovation process, first looking at a range of photos of the bones of the home with our client and about her expectations and "Ultimate Investment Goals" for her project (family home or rental, long occupancy or flicking property, ideal uses, pets bedrooms required etc). We then looked at the structure of the existing home and its potential. With a few tweaks to the layout, we could gain 30sqm and by pushing the exterior wall out at the back and side on the ground floor we could gain another 40 sqm by taking a 3 bed 1 bath single car garage to a 4 bed 3 bath, two lounges and study with double garage. There where some aesthetics that benefited also - the house was brick base with nobly brown brick. Our extension removed most of this and the remainder we rendered, the upper floor cladding was leaking and had a heavy concrete tile over it by changing to weatherboard and tin (longrun) roof the loading's on the existing foundation where similar so no existing foundation needed upgrading. To give it a modern spin we used a block for the fire boundary wall and used stack bond pattern to front and back. Our client Debbie works with raw food as her job, making gluten-free vegan food, so her kitchen space was very important. With the kitchen landing close to an internal corner we decided to make it wider than normal along the back wall hiding a step in the exterior wall and helping connect the two living rooms with a Stainless bench on the island this helped to break up space and provide a central gathering point for entertaining. Finally, we upgraded all the wiring and plumbing and gave it a good paint and carpet throughout. We conducted weekly meetings throughout the entire process of the renovation, not only to discuss options and check we where on the right path with the design but to enable a spread out approach to the loads of decisions that go into a build/renovation. Check out the before and after images below. Along with a video of the final product. Before: After: https://www.youtube.com/watch?v=6CvHS6nNxzk&feature=youtu.be Check out the entire project here!...See MoreKitchen Mania before & after kitchen project in 1970's house
Comments (0)David and Tammy bought their 1970s home a year ago and have two sons. They are a young Air Force family and their dream is to become as sustainable and eco-friendly as possible. Since moving into their home, they have added a lick of paint here and there but have a whiteboard with over 70 items on the 'to-do' list! With an oven that didn't cook, a sink that didn't drain and a pantry with no door, this family was in desperate need of a new kitchen! The existing kitchen had good bones, but just needed some attention to design, layout and functionality - and that's where we came in! Fresh off the plane from the worlds largest kitchen trade fair in Italy, our talented designer Mark worked with interior designer Melissa to come up with a kitchen design and colour scheme that would "Bring Milan to Massey!" This gorgeous kitchen has matte black cabinetry, two gold accent doors, a marble look laminate bench top and black sink, tap and handles. The Before and After images speak for themselves! Before Before After After...See More
julie herbert
4 years ago PRO
PROHelenscolour
4 years ago
dafmaria
4 years ago
Susan McGuire
3 years agoK s
3 years ago

Annabel Sullivan