


Colourful Ways to Make Over Your Kitchen Cabinetry
Try these inspiring colour updates to spice up your kitchen for every level of bravery
Nelly Reffet
11 May 2015
Houzz Australia Contributor. Interior Designer at Twinkle & Whistle based in Perth, Western Australia. Creating inspiring and "real" homes for every budget is my bread and butter. Well, make that "baguette and olive oil", in honour of my Mediterranean-French heritage! I believe a beautiful space is not a privilege of wealth and I love nothing more than witnessing how a considerate design positively affects my clients' life.
Houzz Australia Contributor. Interior Designer at Twinkle & Whistle based in Perth,... More
As much as we love a white kitchen – timeless, fresh, versatile – colourful cabinetry can really go from adding the wow factor to simply brightening up a tired scheme. There are different ways (some more subtle – and more ‘renter-ready’ – than others) to makeover your kitchen cabinetry, so if you’re planning a kitchen renovation in the medium to long term, be inspired by these colourful ideas. Let’s start with the more subtle options and work our way up…
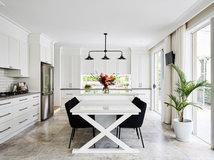
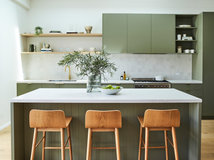
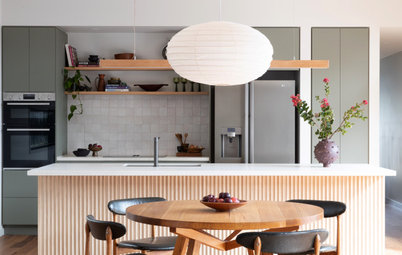
BRAVERY LEVEL 1: Changing your hardware
For a not-so-dramatic, yet effective change, replace your knobs and handles. Ceramic knobs and handles come in many colours, shapes and designs, and replacing them can bring a subtle but welcome change to your kitchen. It’s quick, very cost effective, and also totally doable in a rental – just make sure you keep the landlord’s old handles to screw back on again. Never underestimate the smaller changes – it’s often the details and finishing touches that make a room sing.
More: 6 Factors to Consider When Choosing Handles for Your Kitchen Cabinets
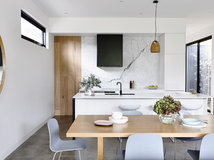
BRAVERY LEVEL 2: Painting occasional furniture
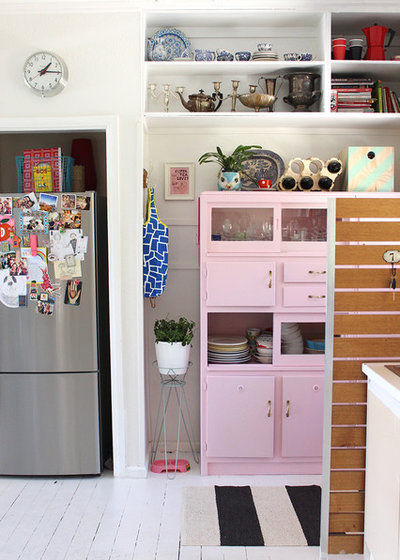
What if you are renting or if you don’t feel like painting permanent fixtures, such as cabinets? Well, you can still paint occasional kitchen furniture, such as a butcher block, a standalone pantry, a meat safe or a kitchen island.
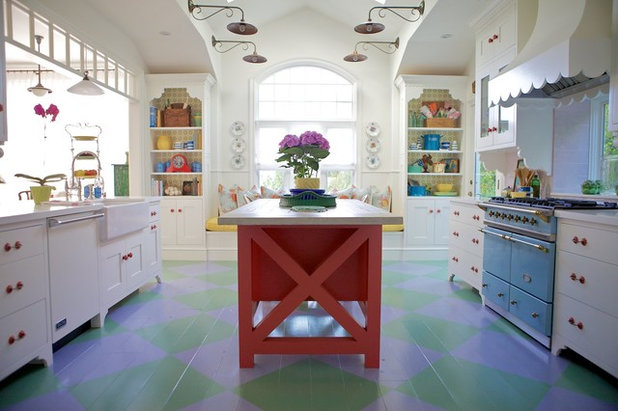
The best result is when the chosen colour contrasts with the rest of your kitchen. In this scheme, see how the red stands out, strong and vibrant, against the blue floors and the white everything-else? To make sure your painted piece doesn’t become ‘the elephant in the room’, try using the same colour again for accent items and decorative accessories, such as the door handles.
What if you are renting or if you don’t feel like painting permanent fixtures, such as cabinets? Well, you can still paint occasional kitchen furniture, such as a butcher block, a standalone pantry, a meat safe or a kitchen island.
The best result is when the chosen colour contrasts with the rest of your kitchen. In this scheme, see how the red stands out, strong and vibrant, against the blue floors and the white everything-else? To make sure your painted piece doesn’t become ‘the elephant in the room’, try using the same colour again for accent items and decorative accessories, such as the door handles.
Painting furniture can be a little bit tricky and messy, and the result can look far from spotless if you rush it. Firstly, take your piece of furniture to a well-ventilated and well-lit space, and make sure there is plenty of space to walk around it while it’s drying. Remove any knobs, handles, drawers, even doors, if you can. Use painter tape to mask any areas you do not wish to paint (glass on doors, maybe).
Next up, prepare the furniture. No matter how much the paint packaging claims to be applicable without sanding, make sure to sand your piece of furniture thoroughly. Even if you can apply it without sanding, doing so will still improve the longevity of your work. After sanding, clean your piece of furniture to remove any wood dust particles.
Depending on the paint you choose, and what the furniture surface is like, choose whether to use a primer before applying two coats of your finishing paint. Start by painting the frame. Then proceed with painting doors and drawers. Always make sure the paint is fully dry – not just touch dry – before you put them back in place. Remember, it’s important not to rush it.
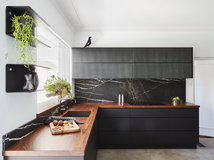
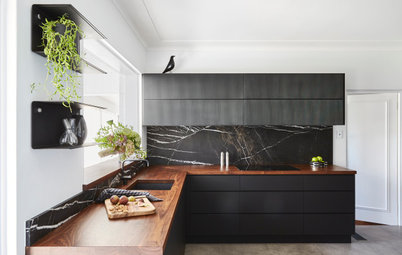
BRAVERY LEVEL 3: Dressing up the back of your cabinets
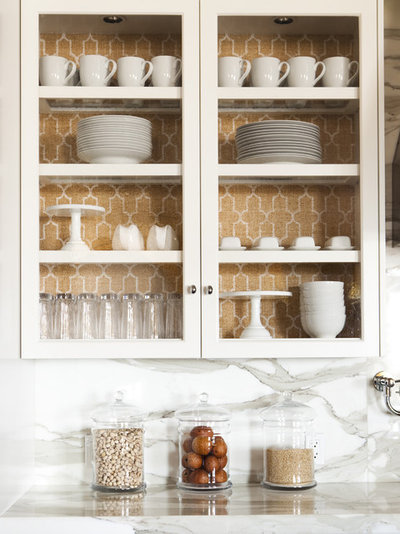
For cabinets with glass doors (or with no doors at all), applying wallpaper or painting the back of the cabinets is a fantastic way to add colour and create a strong background to display your glassware against.
For those with only solid doors, this can also be an ideal cheeky update to your kitchen, which will add a little bit of quirk and is guaranteed to make you smile every time you open your cabinets.
You can also paint the back of your cabinets. For a nice professional finish, remove the shelves if possible, and apply painter tape to the frame of your cabinet and to any other surfaces you do not wish to paint. As I have an extremely unsteady hand, I tend to opt for wide format tape – this way, even if my brush ‘slips’ a bit, my cabinets are still protected.
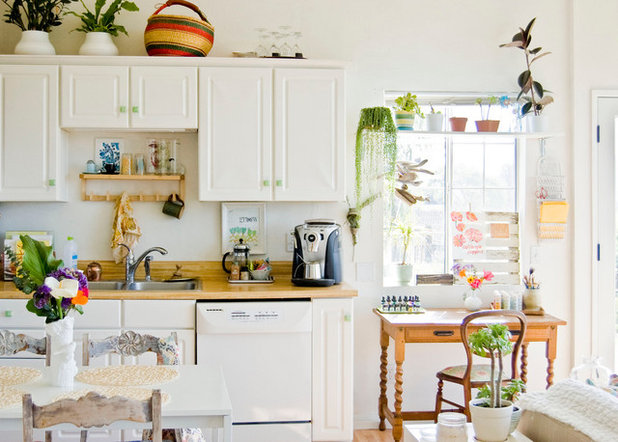
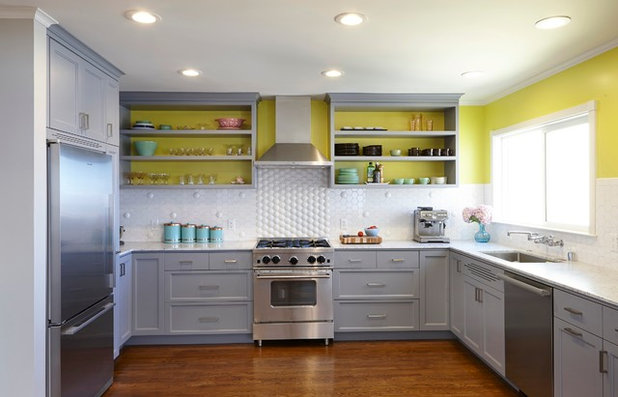
This kitchen scheme goes the extra mile, with a painted panel of sunny yellow above a white-tiled splashback. This simple DIY trick really adds dimension to the kitchen.
This kitchen scheme goes the extra mile, with a painted panel of sunny yellow above a white-tiled splashback. This simple DIY trick really adds dimension to the kitchen.
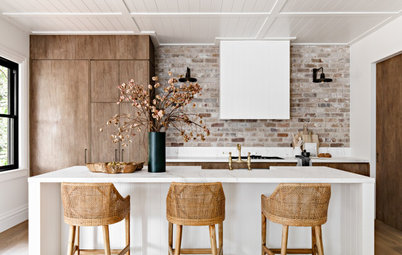
BRAVERY LEVEL 4: Painting shelves
Open shelving has made a strong comeback in kitchen design these last couple of years. But more often than not, finishes are limited to white or timber. So, if you feel like adding an accent colour, why not step gently out of the norm and paint your shelves a different shade of awesome? Don’t hesitate to go for a strong colour – a shelf is reasonably small and is not going to overpower your space. Besides, it can easily be repainted if you grow tired of the chosen colour, so be brave and embrace that strong hue you have been dreaming of.
14 things you never thought to paint but should

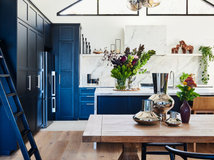
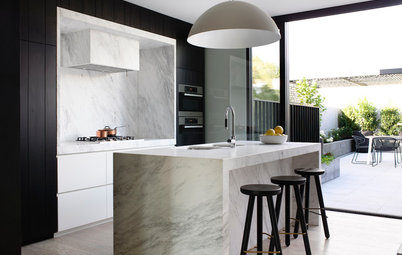
BRAVERY LEVEL 5: Painting the cabinets
Perhaps the boldest change you can make to your kitchen cabinets is to paint them. While the process can be a bit fastidious and time-consuming, the results can be striking and take your kitchen to a whole new level.
Whether the cabinets are made of timber or laminate, you can be sure to find the right type of paint for your cabinets in a wide range of colours. My biggest tip is that no matter how impatient you are and how promising the paint is supposed to be, not to skip on the preparation phase (see above), which is even more important for highly-used cabinets than for more occasional pieces. Thorough sanding and priming are essential for a smooth and long-lasting finish.
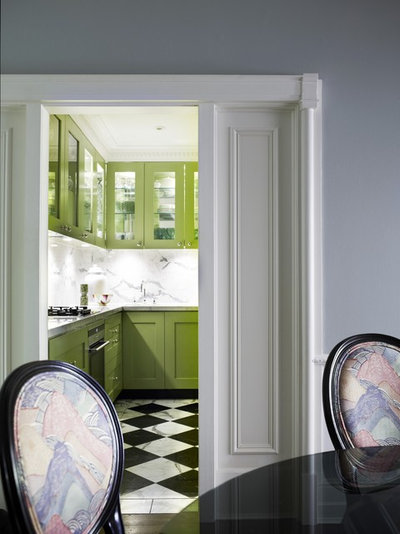
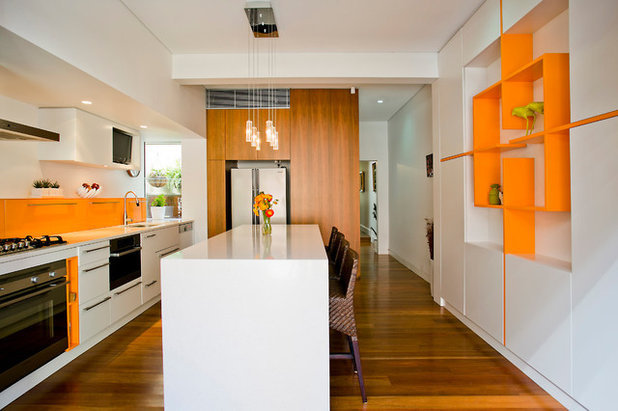
If you have a compact kitchen that doesn’t get much natural light, a bright colour might be exactly what your space needs. These colourful cabinets have been paired with strong-patterned tiles – black and white check floors. You could pair yours with super-funky pendant lights or gutsy artwork. Adding more boldness to the room will complement the cabinets while preventing them from overpowering the space, especially if it’s a small one.
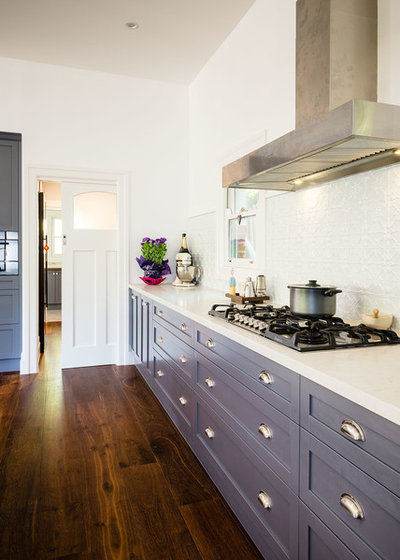
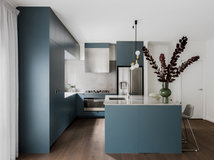
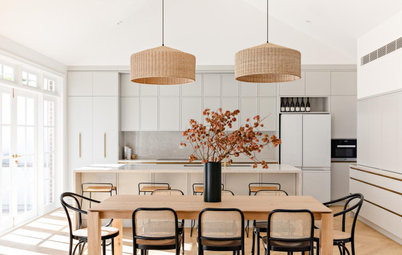
If you always had a neutral kitchen and are not quite ready for a dramatic and bold change just yet, opt for cool, timeless, more saturated or even lighter shades such as navy blue, sage green, duck egg blue and mint green. They will still add dimension and interest to your room, without feeling overpowering or over-stimulating.
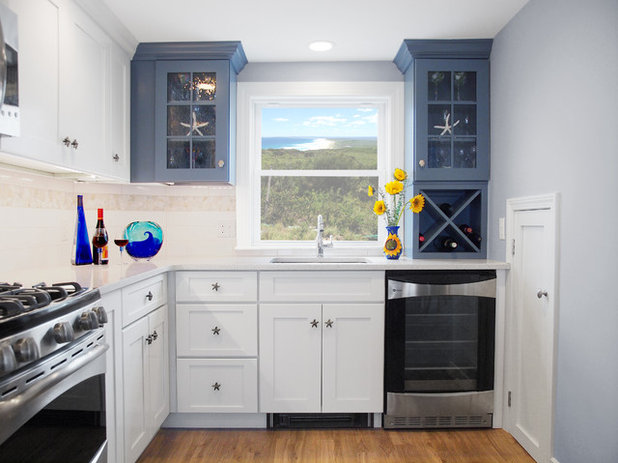
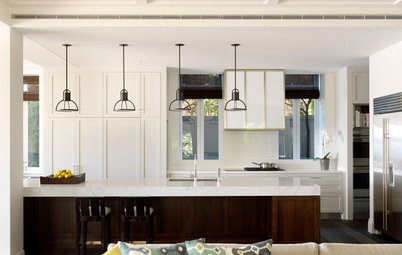
You don’t have to paint all of the cabinets either – why not leave some cabinets white and paint the others? For a partial colour makeover, I tend to recommend that my clients paint cabinets that are already visually different from the rest. For example, a tall pantry versus standard cabinets or glass door cabinets versus solid doors, and even upper cabinets (usually shallower and higher) versus base cabinets. The paint will enhance their existing differences, and since they are already different to start with, they might as well be really different and stand out!
TELL US
Have you given your kitchen cupboards a makeover? Upload a picture in the Comments and tell us how you did it.
MORE
20 Gorgeous Kitchen Colour Pairings
How to Plan a White Kitchen That’s Anything but Boring
8 Cupboard Door Styles to Beautify Your Kitchen
TELL US
Have you given your kitchen cupboards a makeover? Upload a picture in the Comments and tell us how you did it.
MORE
20 Gorgeous Kitchen Colour Pairings
How to Plan a White Kitchen That’s Anything but Boring
8 Cupboard Door Styles to Beautify Your Kitchen

Related Stories
Most Popular
Renovation Insight: How to Choose a Kitchen Designer
The right designer can bring your dream kitchen to life – three kitchen designers reveal where to look and what to ask
Full Story
Most Popular
Key Heights to Consider When Designing Your New Kitchen
By Anne Ellard
Create a user-friendly kitchen and avoid excessive stretching and bending with these design tips for recommended heights
Full Story
Storage
Renovation Insight: How to Choose & Work With a Cabinet Maker
Custom joinery allows you to tailor a space to suit your needs – here's how to choose the right firm for the job
Full Story
Most Popular
Reno Insights: Don't Rush It! Why Kitchen Planning Takes so Long
Preparing to renovate can take up to four times as long as building, but it's crucial for a good result – here's why
Full Story
Kitchen Expert Advice
10 Times You Should Hire a Kitchen Designer
These specialists can solve layout issues, save costs, update an older space and create custom design details
Full Story
Most Popular
From Planning to Pendants: Kitchen Lighting Essentials
By Joanna Tovia
This valuable guide will give you all you need to know about choosing kitchen lighting for fabulous form and function
Full Story
Most Popular
How to Control the Cost of Your Renovation, Room by Room
Where to save, where to spend (and all the tricks in between) for keeping the cost of your renovation on track
Full Story
Kitchens
A Kitchen That Uses Special Elements to Punch Above Its Weight
This couple wanted a well-designed kitchen that incorporated their pre-bought furniture; this designer delivered
Full Story
Most Popular
Key Measurements to Consider When Designing the Perfect Kitchen Island
By Anne Ellard
Discover the correctly proportioned kitchen island bench dimensions so your space works as well as it can
Full Story
Most Popular
Shoestring Budget: Getting the Best Kitchen Cabinets for Less
It can be daunting choosing the right kitchen cabinets with limited funds, but these UK design experts' tips will help
Full Story
We have a horrible blue laminate top on our kitchen benches, and are looking to get them covered with another better coloured laminate. Is this possible? and could you do this, if the price is right?