How to Preview and Share the Client Dashboard
Sharing the Client Dashboard with your clients gives them an up-to-date view on the status of their project. Your clients can find everything you’ve shared with them on the Client Dashboard, including estimates/proposals, schedule, files, photos, and more.
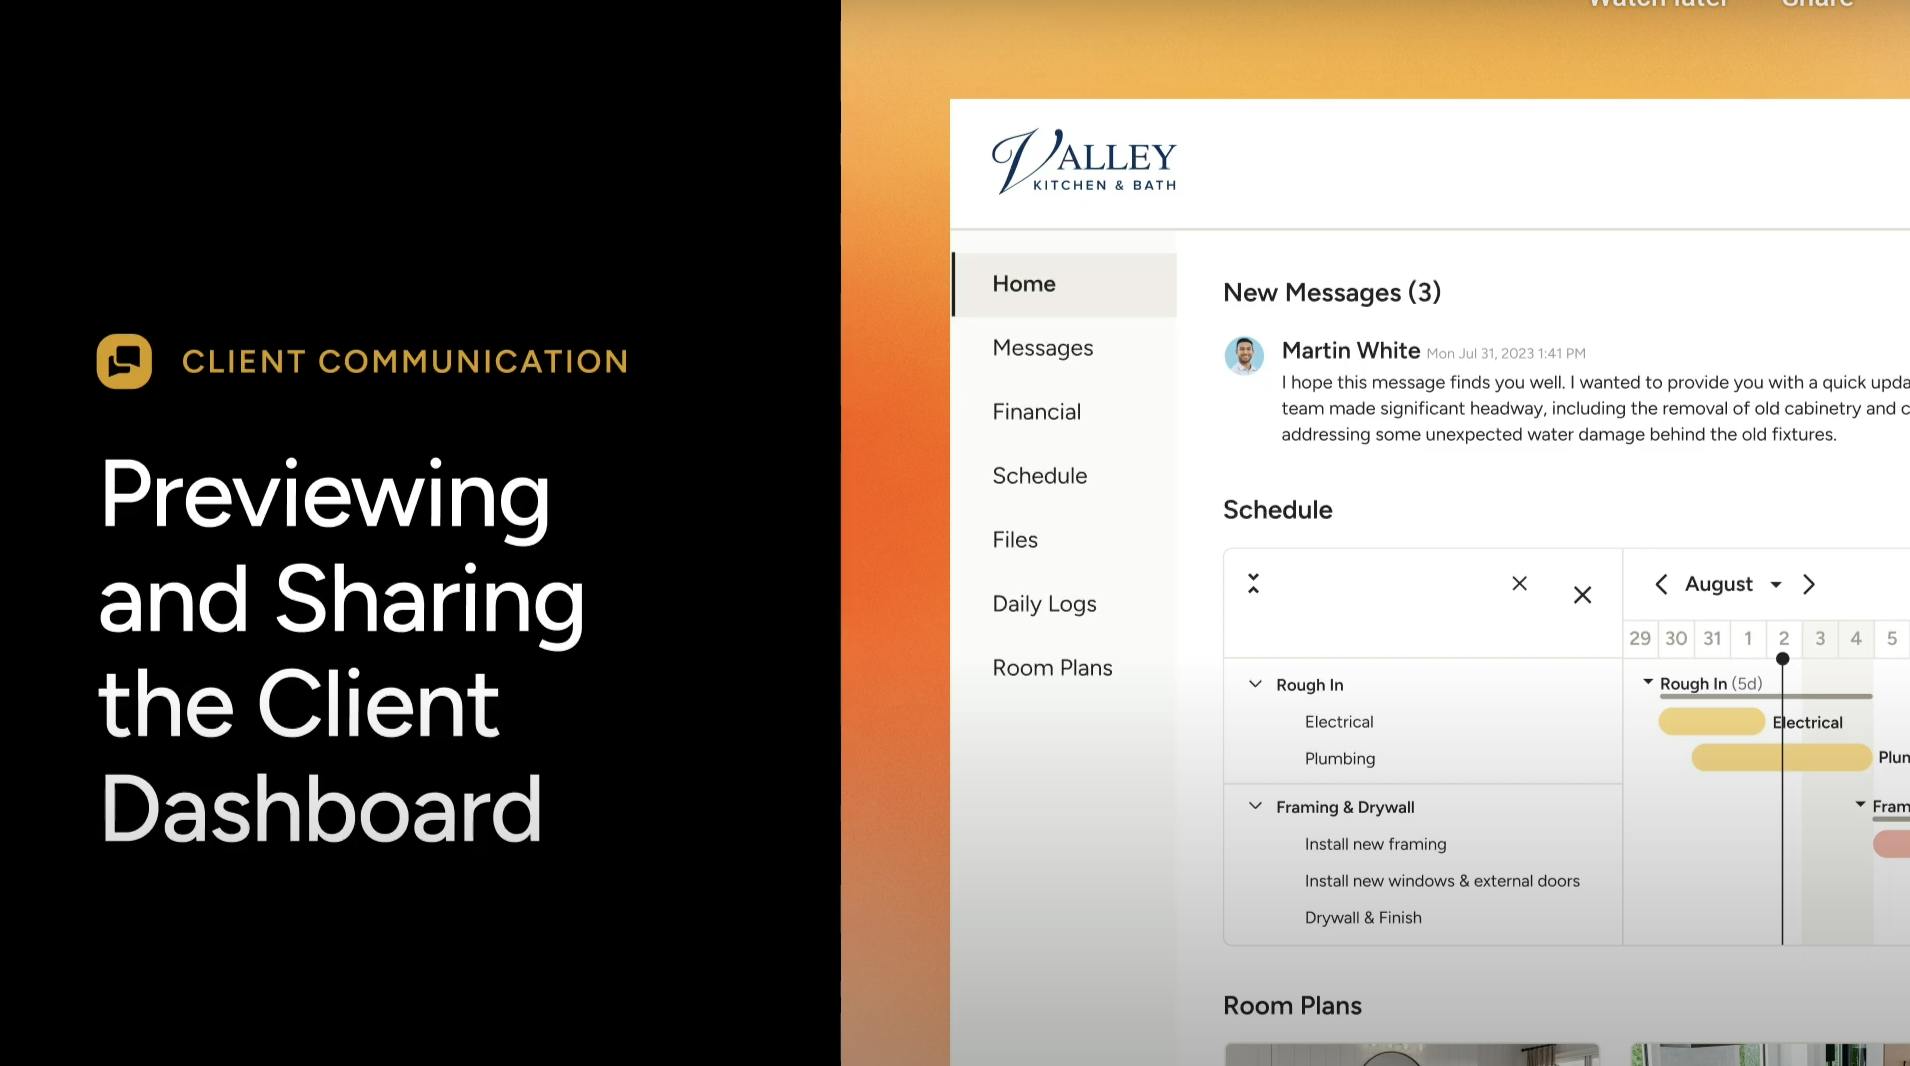
Watch this video tutorial to learn how to view and share the Client Dashboard.
Client Dashboard Overview
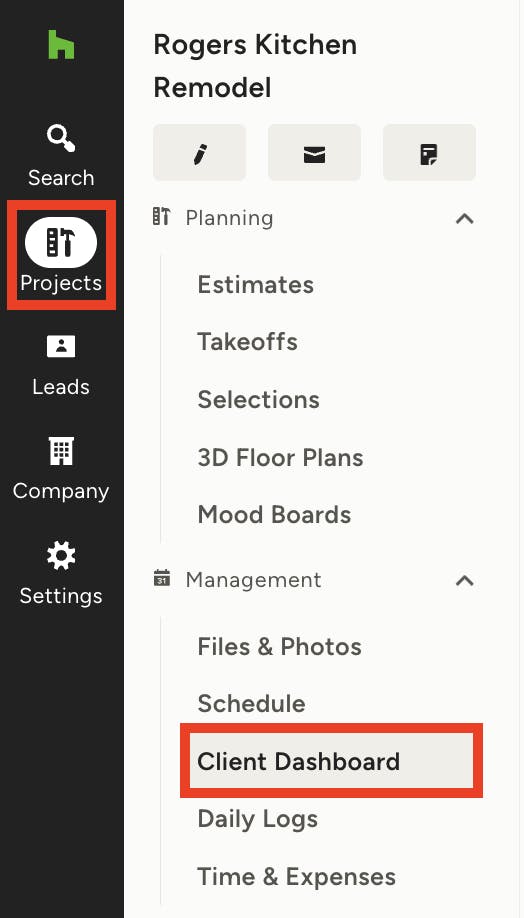
To access the client dashboard, find the relevant project from the left navigation, and select Client Dashboard in the left-hand menu.
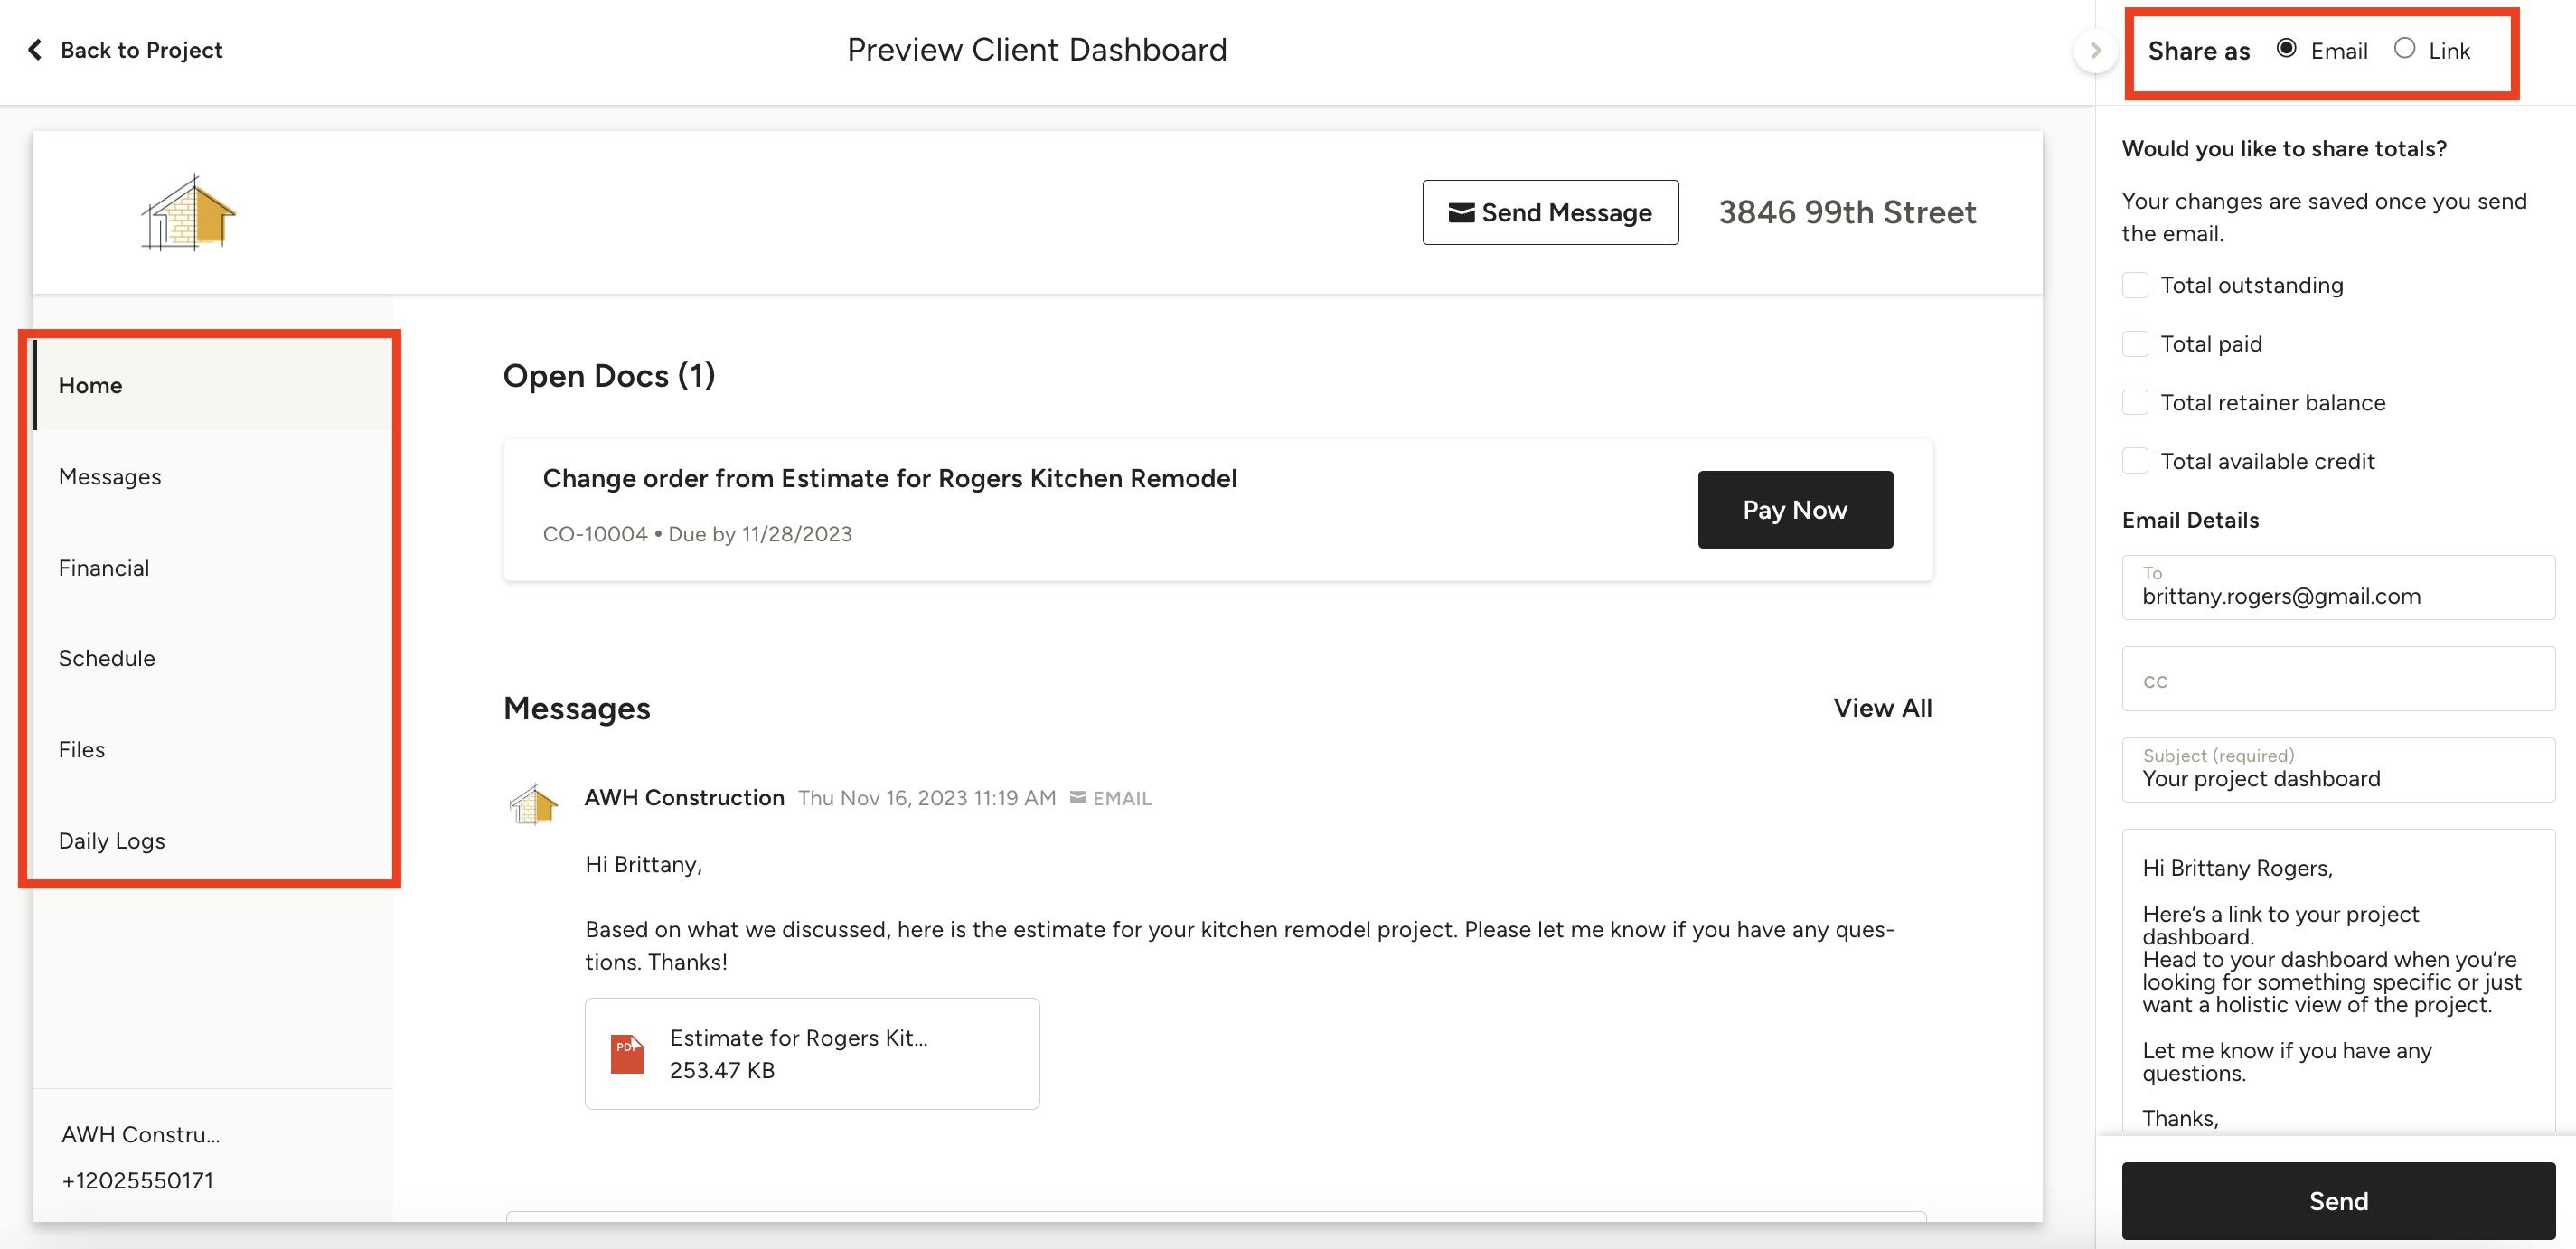
A preview of the personalised dashboard will open — this is the version that your client will view once you share it. The tabs on the left-hand side will change depending on what your client has access to.
- Messages: This tab will help you track previous conversations with your client, as well as send new messages back and forth if needed.
- Financial: This tab includes all shared financial documents, including estimates, proposals, invoices, variation orders and more. Your client can view, approve and even sign documents from here — they can also pay online if online payments are set up (currently only available in Australia).
- Files: This tab stores all files and photos you have shared with your client. Your client can preview and even download a file if needed.
Other tabs include schedule, daily logs and selections — you will need to give individual access to these Houzz Pro features for them to show.
If you would like to give your client access to a specific feature — schedule, for example — go into that feature, click the Share icon, and adjust the Client Access settings.
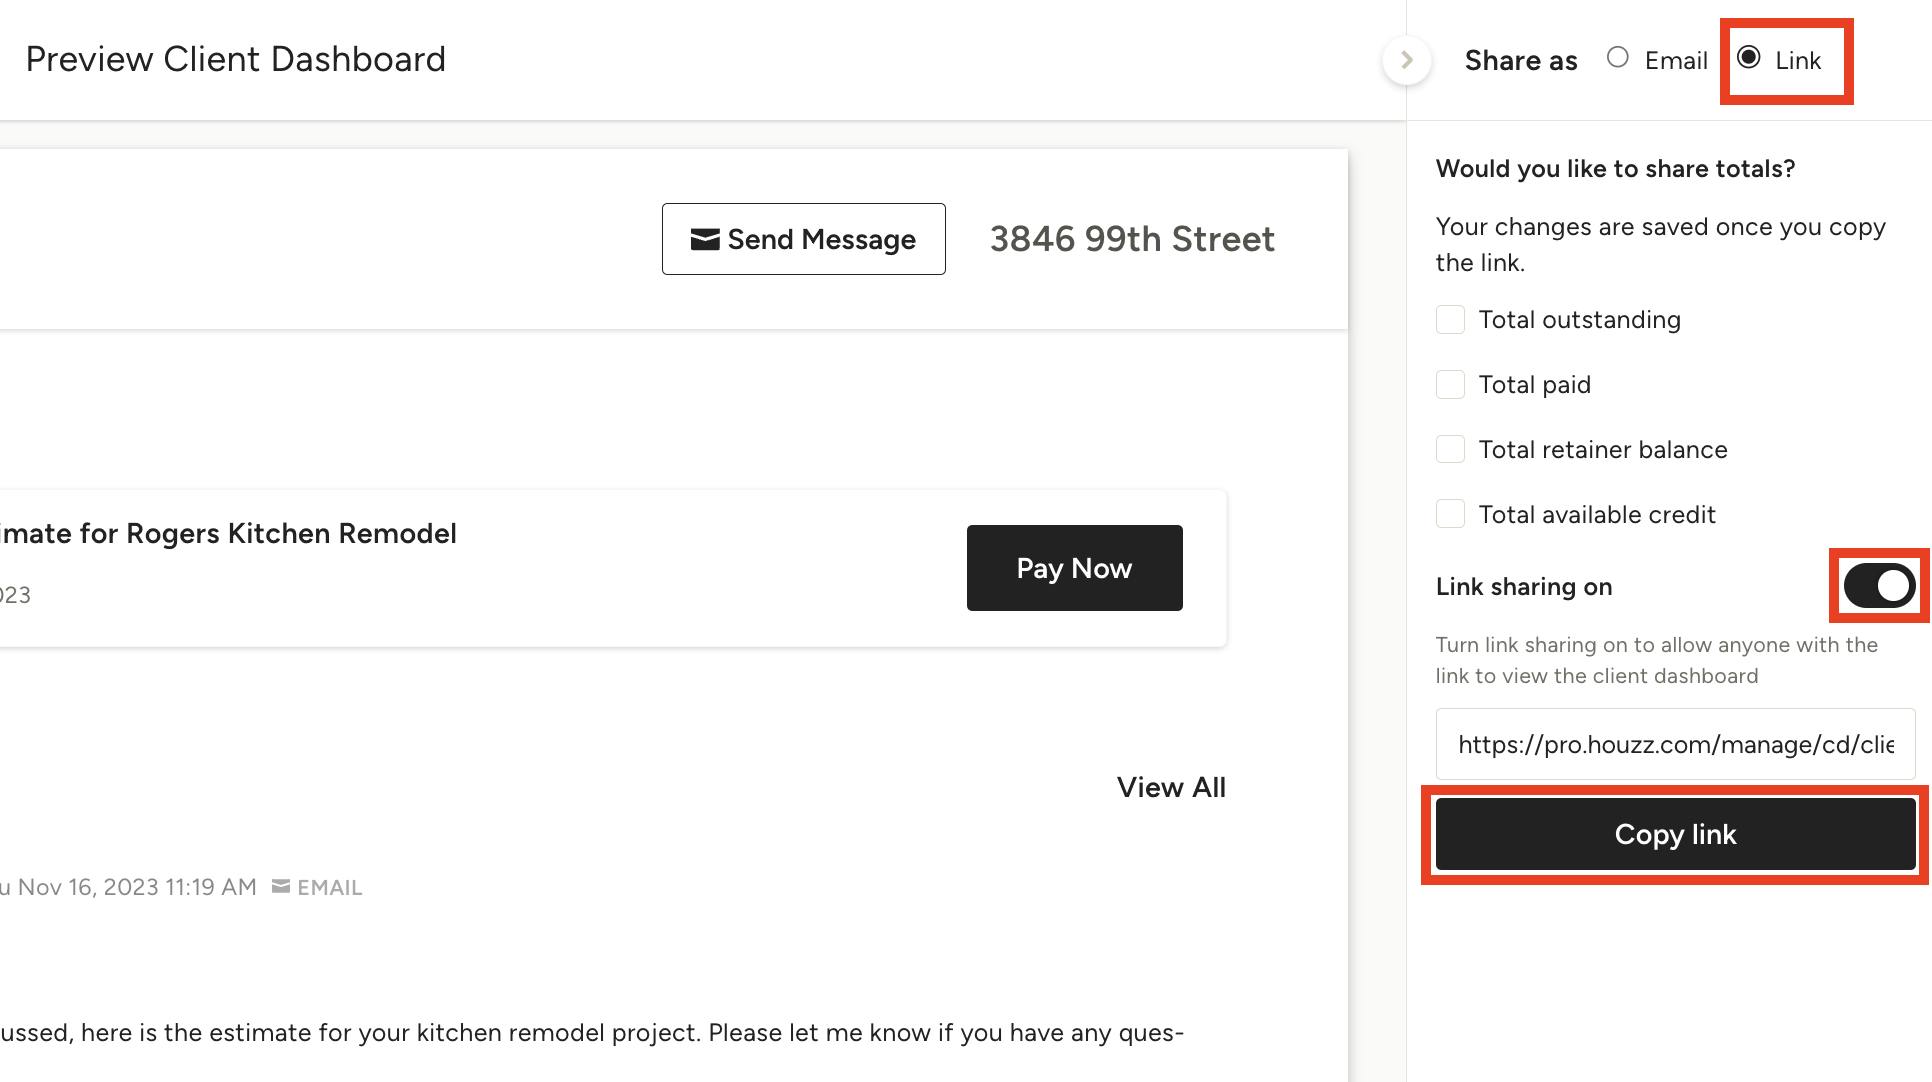
In the top right of the dashboard, you have the option to either share the dashboard by email or share it as a link.
Share the Client Dashboard as an Email
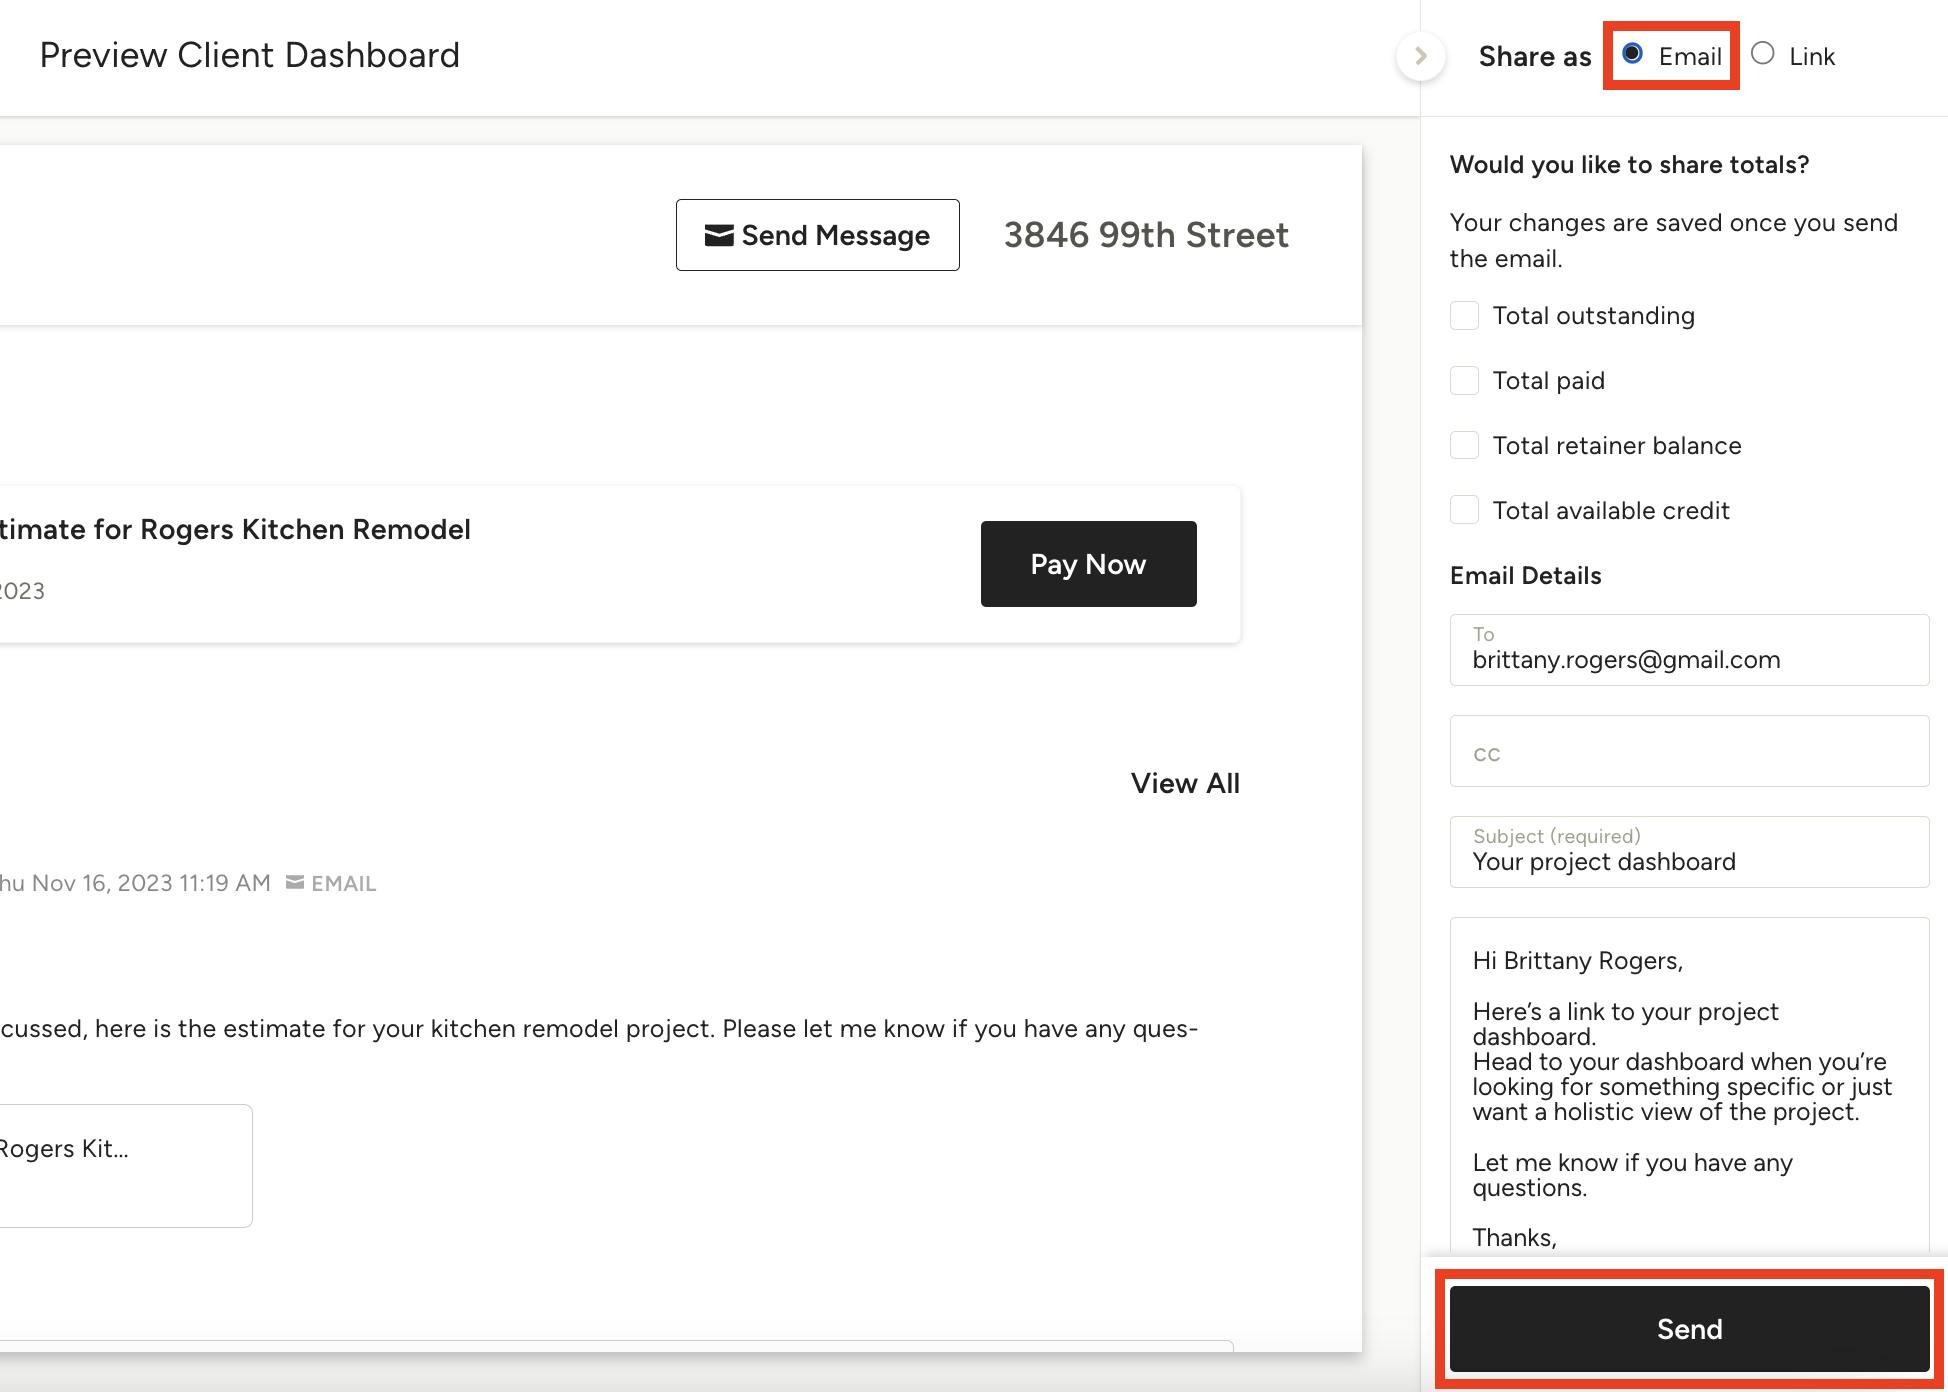
To share the dashboard as an email, select the email option at the top right of your screen. You can adjust the totals you share with the client by turning them on or off. Your client's email address will already be filled in, as well as the default subject line and message. You can keep this text, or you can customise and write your own. Scroll down and mark the checkbox at the bottom if you’d like a copy of the email sent to your email address as well. Once everything looks good, click Send.
Share the Client Dashboard as a Link
To share the dashboard as a link, select the link option at the top right of your screen. You can adjust the totals you share with the client by turning them on or off. Link sharing will automatically be turned off, so be sure to turn that on so that anyone with the link can view the client dashboard. Click Copy Link and share the link with your client.
Remove Access to the Client Dashboard
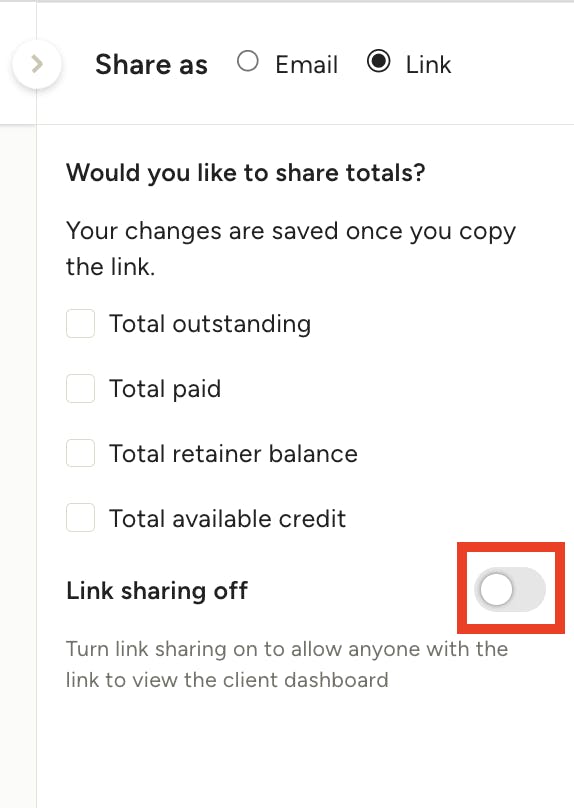
You can remove access to the Client Dashboard at any time by turning the link sharing off. Simply head to the preview of the Client Dashboard, press the Link option, and turn off the sharing toggle.

Remove Specific Items from the Client Dashboard
If you want to remove specific documents, like an invoice, from a Client Dashboard, you need to open the document and select Hide from Dashboard in the Actions menu located at the top.
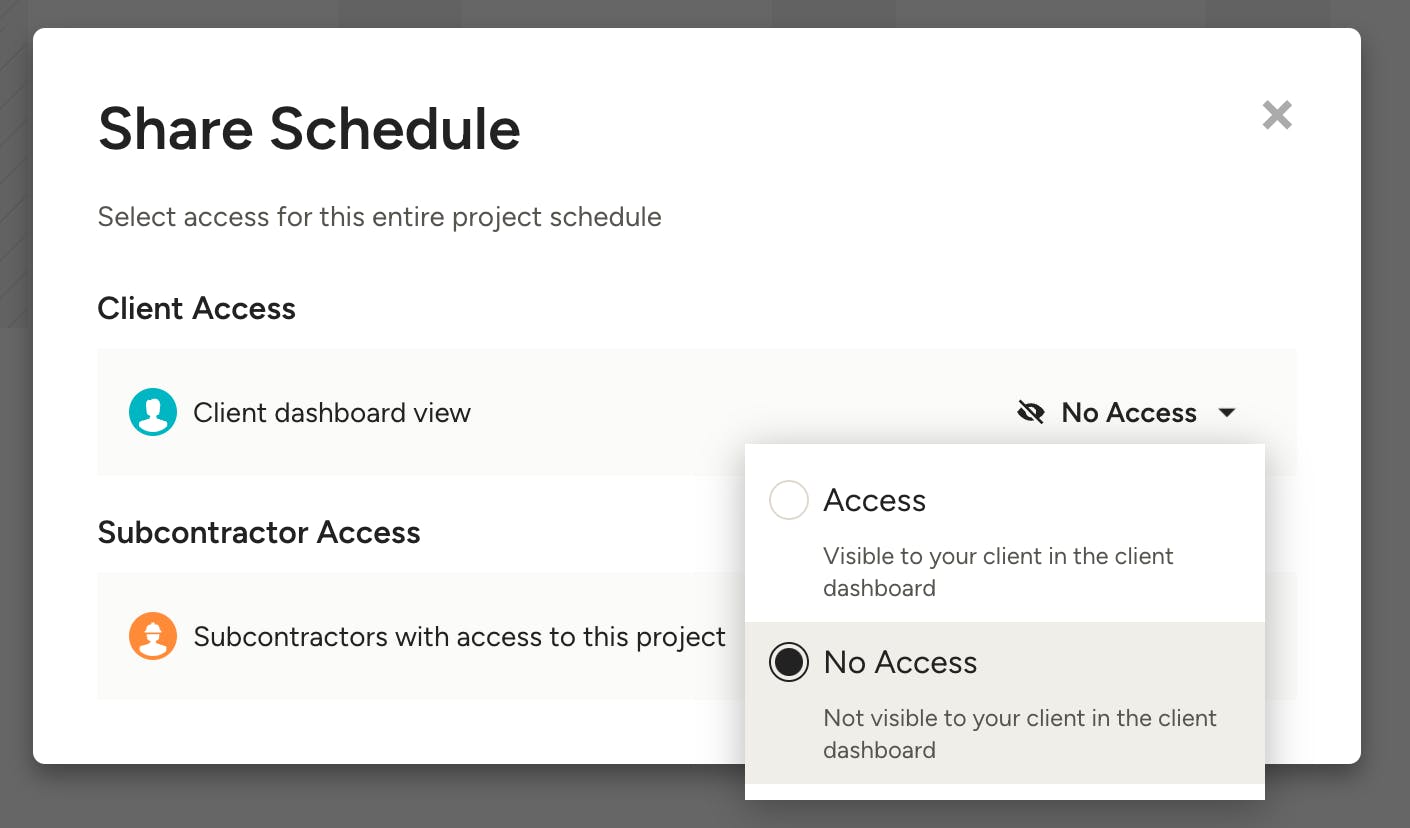
If you want to remove items like the project schedule or daily logs, you will need to edit the Share settings for that specific item so that the client access is turned off. You can find Share settings at the top of the page for each item.
