How to Keyword Your Photos Effectively
Want Houzz users to be able to find the photos you upload to your profile? Here's a simple guide to adding keywords

If you want to make sure Houzz users can find your images and get to know your brilliant work, it’s vital to add keywords to the photos you upload. To make it easy for you, we’ve put together a step-by-step guide to understanding keywords and adding effective search terms to your photos.
Add your keywords
The process of adding keywords to your photos is fairly straightforward. Here’s how to do it:
1. In your Houzz profile click on the ‘Your Houzz’ button in the top right-hand corner of your screen.
2. Go into the ‘Projects’ tab and click into the project you’ll be adding keywords to. Click ‘Edit Project’.
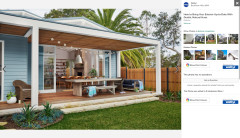
4. Hover your mouse over a photo and click on the ‘Edit’ button when you see it appear.
5. You’ll see a larger version of your photo, with a banner on the right with boxes for you to fill in. Scroll down and look for the ‘Keywords’ box. Add your keywords in this box, making sure to separate each word with a comma to turn it green.
The process of adding keywords to your photos is fairly straightforward. Here’s how to do it:
1. In your Houzz profile click on the ‘Your Houzz’ button in the top right-hand corner of your screen.
2. Go into the ‘Projects’ tab and click into the project you’ll be adding keywords to. Click ‘Edit Project’.
4. Hover your mouse over a photo and click on the ‘Edit’ button when you see it appear.
5. You’ll see a larger version of your photo, with a banner on the right with boxes for you to fill in. Scroll down and look for the ‘Keywords’ box. Add your keywords in this box, making sure to separate each word with a comma to turn it green.
Choose your words
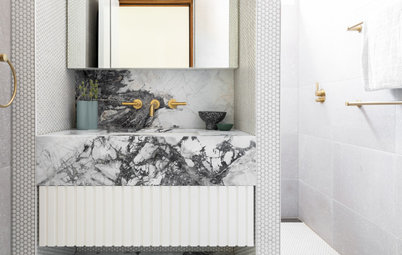
Think about how you would describe the image in very basic terms, using words like ‘bathroom’ or ‘storage’. Each time you type a keyword into the keyword box, add a comma before you type in another word. This will turn the word green to show that the keyword has been added successfully.
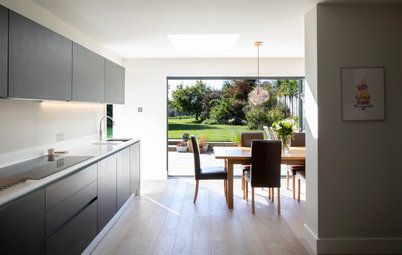
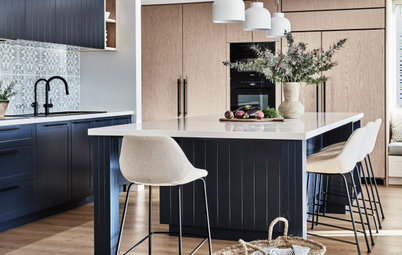
Make sure every word is relevant to the particular image and try to avoid words that are very technical. Think about how a homeowner would describe something in more broad terms than the technical terms used by professionals.
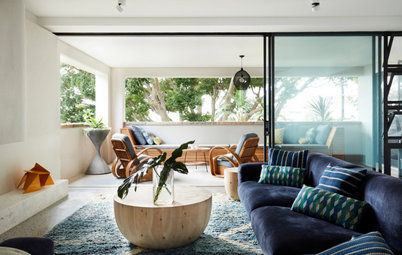
Don’t forget that homeowners often search by using pairs of words, particularly when they don’t know exactly what they are looking for. An example would be ‘modern kitchen’.
Discover how to connect your website and social media presence
Think about how you would describe the image in very basic terms, using words like ‘bathroom’ or ‘storage’. Each time you type a keyword into the keyword box, add a comma before you type in another word. This will turn the word green to show that the keyword has been added successfully.
Make sure every word is relevant to the particular image and try to avoid words that are very technical. Think about how a homeowner would describe something in more broad terms than the technical terms used by professionals.
Don’t forget that homeowners often search by using pairs of words, particularly when they don’t know exactly what they are looking for. An example would be ‘modern kitchen’.
Discover how to connect your website and social media presence
Get specific
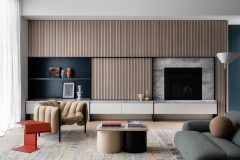
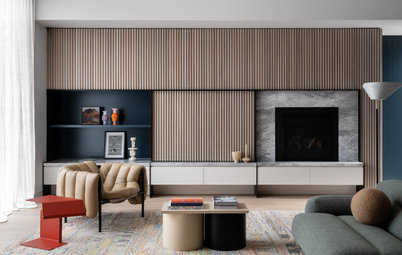
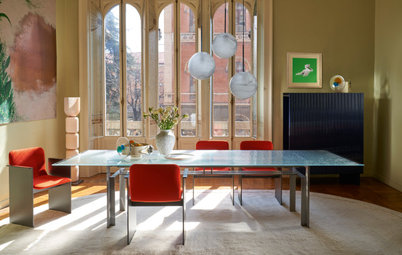
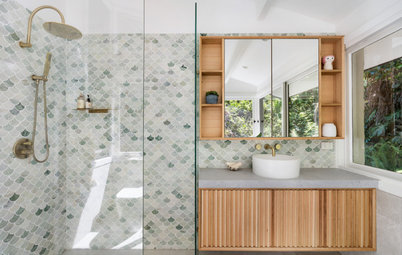
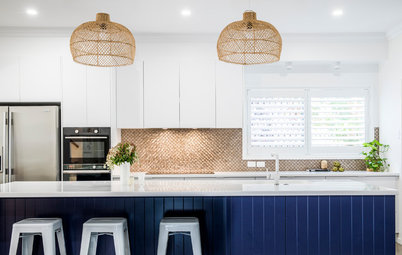
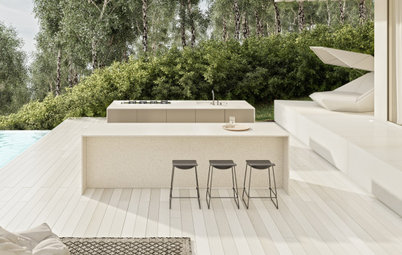
Once you’ve typed in your basic terms, you can begin to enter more specific keywords or phrases. Describe the materials and colours that have been used in the photo. For example, you could go for ‘ceramic’, ‘ceramic floor tiles’, ‘patterned floor’. A good rule of thumb is to imagine you’re describing the image to someone who can’t see it, so add all the colours, styles and design themes you can find in the photo.
How many keywords you add is entirely up to you, but it’s useful to aim for at least 10 to 15 keywords per image.
Tell us
Have you added keywords to your images and noticed a difference? Share your experiences in the Comments section.
More
Take a look at our video on how to add keywords to your photos


The Houzz search engine finds your images by using keywords. They help it to match the most relevant images with the searches of Houzz users. So if you want homeowners to see your projects and save your images to their ideabooks, it’s important to add search terms.
Photos are categorised in terms of their keywords, so it’s a good idea to consider how homeowners might describe your photos and which words they would use. These could be just one word or a phrase.