Two Crafty Creations to Make for Mother's Day
Struggling to decide what to get Mum for Mother's Day this year? Why not try one of the easy DIYs to show her that you care

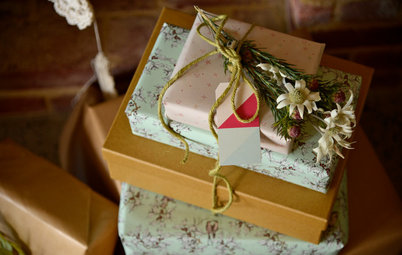
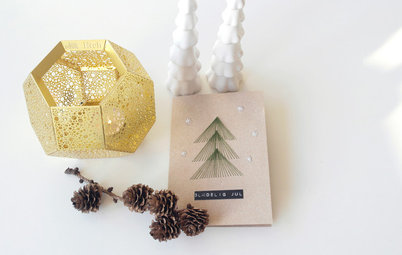
If you’re considering making a personalised gift for Mother’s Day, here are two colourful and thoughtful ideas to try. Simple materials, like tissue paper and wood, keep these DIY projects easy to make and budget-friendly. Create colourful wood frames to showcase Mum’s favourite photos, or use the same materials to make a special piece of art.
I bought a piece of hardwood and had it cut into squares (18 x 18 centimetres). If you’re planning to nail in saw-tooth picture hangers, keep the depth of the wood in mind to avoid nailing through to the back.
STEP 1: Prep the wood, if needed, by lightly sanding the edges and all sides.
STEP 2: With a ruler, find the middle of the wood and mark the location with a pencil. Centre the saw-tooth hanger and nail it down using a hammer.
STEP 1: Prep the wood, if needed, by lightly sanding the edges and all sides.
STEP 2: With a ruler, find the middle of the wood and mark the location with a pencil. Centre the saw-tooth hanger and nail it down using a hammer.
STEP 3: With the bristle brush, paint the wood white and let it dry.
STEP 4: Choose your favourite pieces of colourful and patterned tissue paper, and tear them into your desired shapes.
STEP 5: Because Mod Podge dries fairly quickly, it’s helpful to figure out your layout to expedite the next steps.
STEP 6: Dip the foam brush into the Mod Podge and lightly cover the area where you plan to place your first piece of tissue paper. (You can also use a bristle paintbrush to apply the adhesive, if preferred.) To eliminate unwanted bumps or wrinkles, apply the adhesive evenly and smooth it out immediately after laying the tissue on the adhesive.
STEP 7: Add more Mod Podge to the top of the tissue paper and continue layering each piece with Mod Podge. Avoid adding too much adhesive in one area.
STEP 8: When you’re finished adding all your tissue, ensure that all pieces are flat and covered evenly with Mod Podge.
STEP 8: When you’re finished adding all your tissue, ensure that all pieces are flat and covered evenly with Mod Podge.
STEP 9: Trim the tissue paper along the edges of the wood with scissors.
STEP 10: Leave your frame(s) out to dry for at least an hour.
STEP 11: Measure 2.5 centimetres from the top centre of each frame, or wherever you’d like to hang your photo on the frame.
STEP 12: Gently hammer in a small nail and hang your bulldog clip.
STEP 13: If you’d like to use a small magnet to hold your photo instead, hammer in a small nail with a larger head so that the magnet (when placed on the front of the photo) will have something to stick to.
STEP 14: It’s time to print your photo, attach it to the frame and wrap your gift.
Try making extra frames to use at home or as gifts for another occasion.
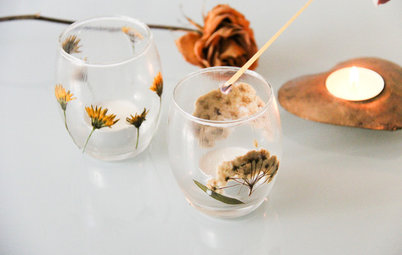
FLORAL ARTWORK
Tools and materials
Tools and materials
- Pencil
- Tissue paper
- Scissors
- Paper
- Mod Podge
- Frame (optional)
STEP 1: Try sketching out a few shapes directly on your tissue.
STEP 2: By folding the paper several times before cutting, you’re able to get several cutouts at once.
STEP 3: After you’ve cut out your shapes, begin playing with your composition on the paper.
STEP 4: Apply a thin layer of Mod Podge to your paper and carefully lay down each shape, covering the top with Mod Podge to secure its placement. Continue adding all your shapes until you’re finished. Frame if desired.
Try bringing over the supplies, a bottle of wine and a bouquet of flowers, and then create the artwork together with your mum to keep or give to each other.
MORE
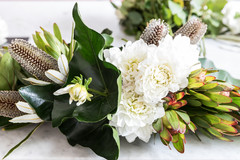
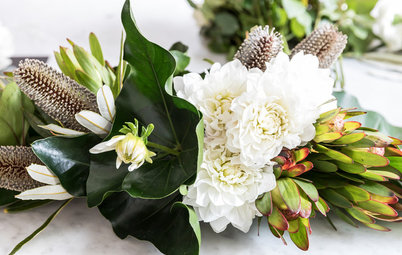
DIY Floral Arrangements to Suit Your Mum’s Style
DIY Project: Paint ‘Em Pretty Flower Pots
Design Lessons My Mother Taught Me
MORE
DIY Floral Arrangements to Suit Your Mum’s Style
DIY Project: Paint ‘Em Pretty Flower Pots
Design Lessons My Mother Taught Me

Tools and materials